Inspecting SLA 3D printed parts with CT scans
Introduction to SLA
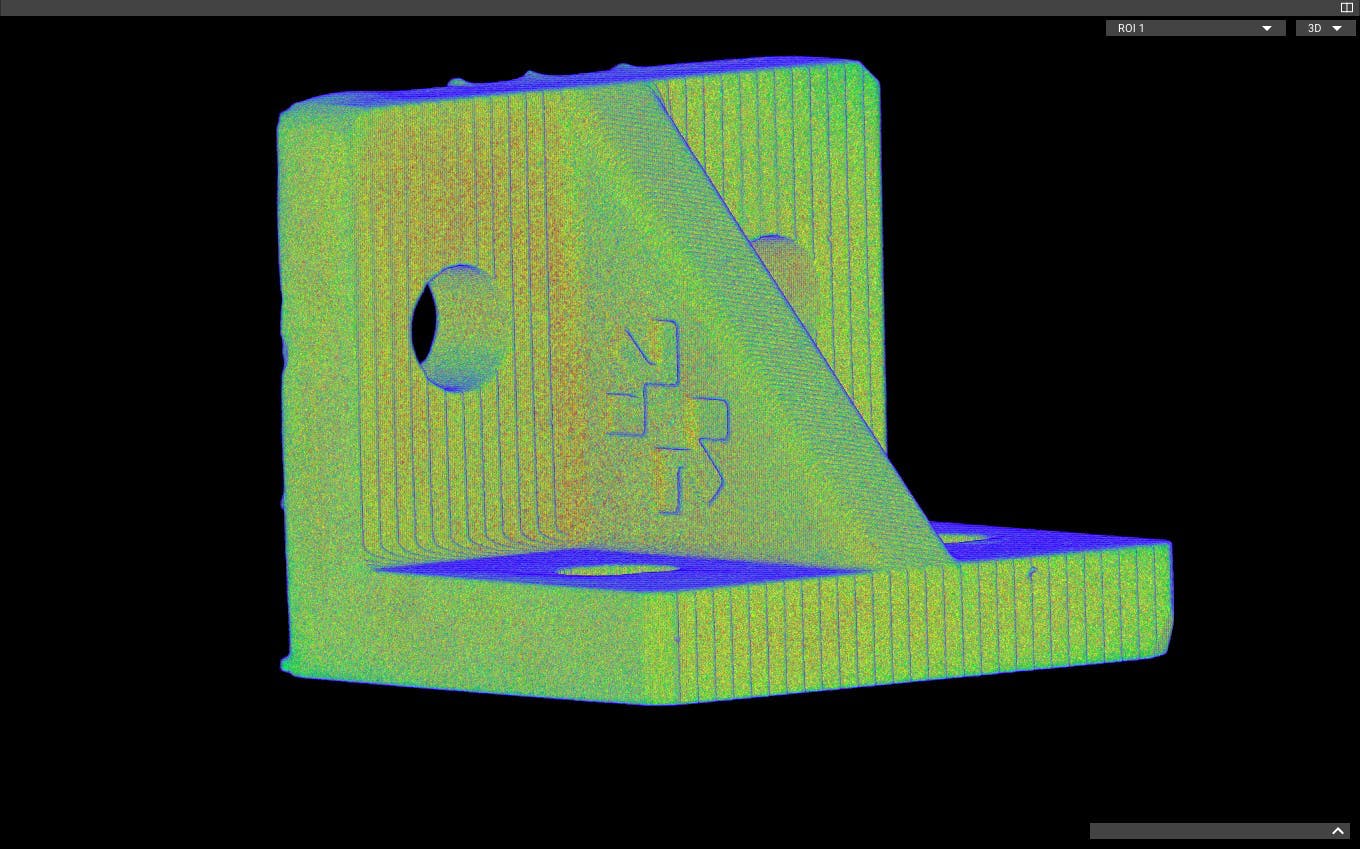
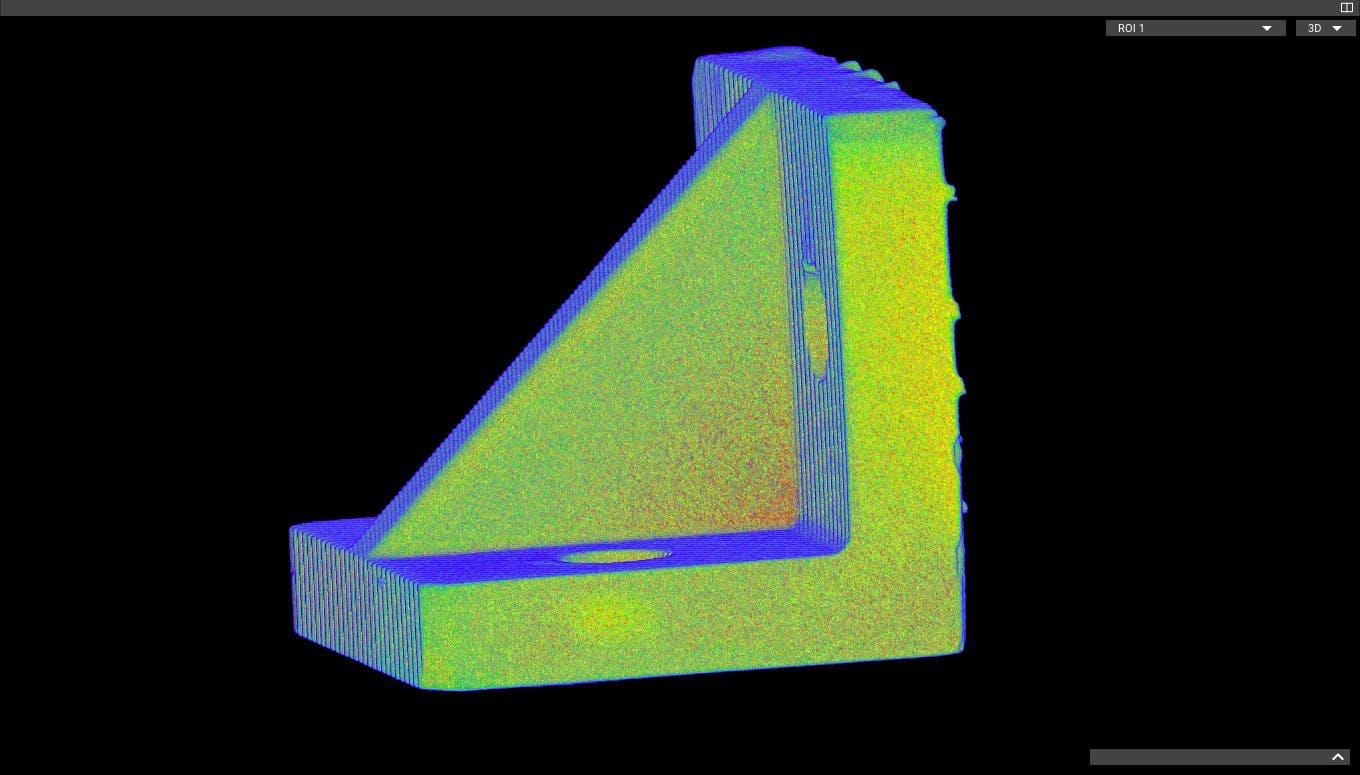
Stereolithography (SLA) was patented in 1986 and became the first commercial 3D printing technology. SLA 3D printers use an ultraviolet laser to cure liquid polymer resin into solid parts, layer by layer.
SLA printing offers excellent surface finish and detail, but like every 3D printing process, it requires some specialized knowledge to achieve best results. An industrial CT scanner can quickly find common flaws in SLA 3D prints, including some that are outwardly invisible.
Explore this scan in Voyager by creating a free account.
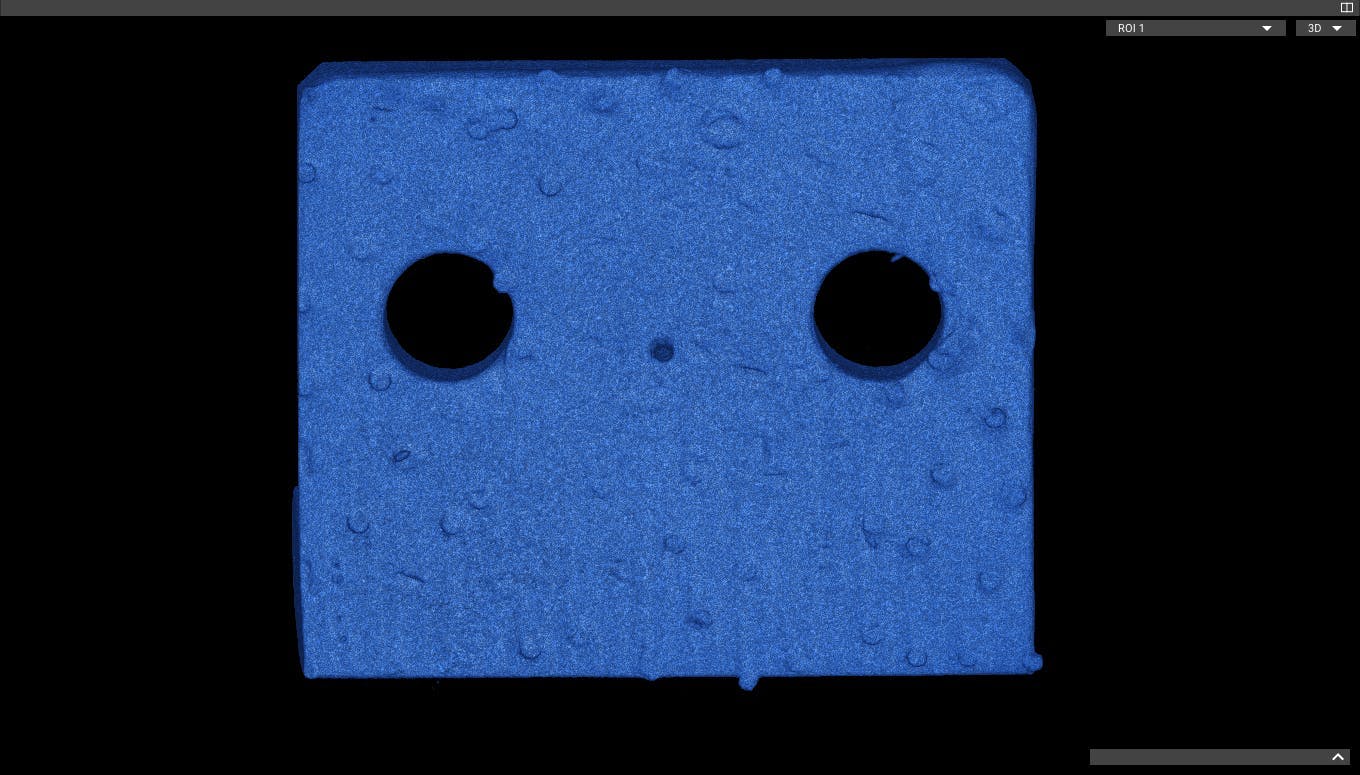
Supports needed
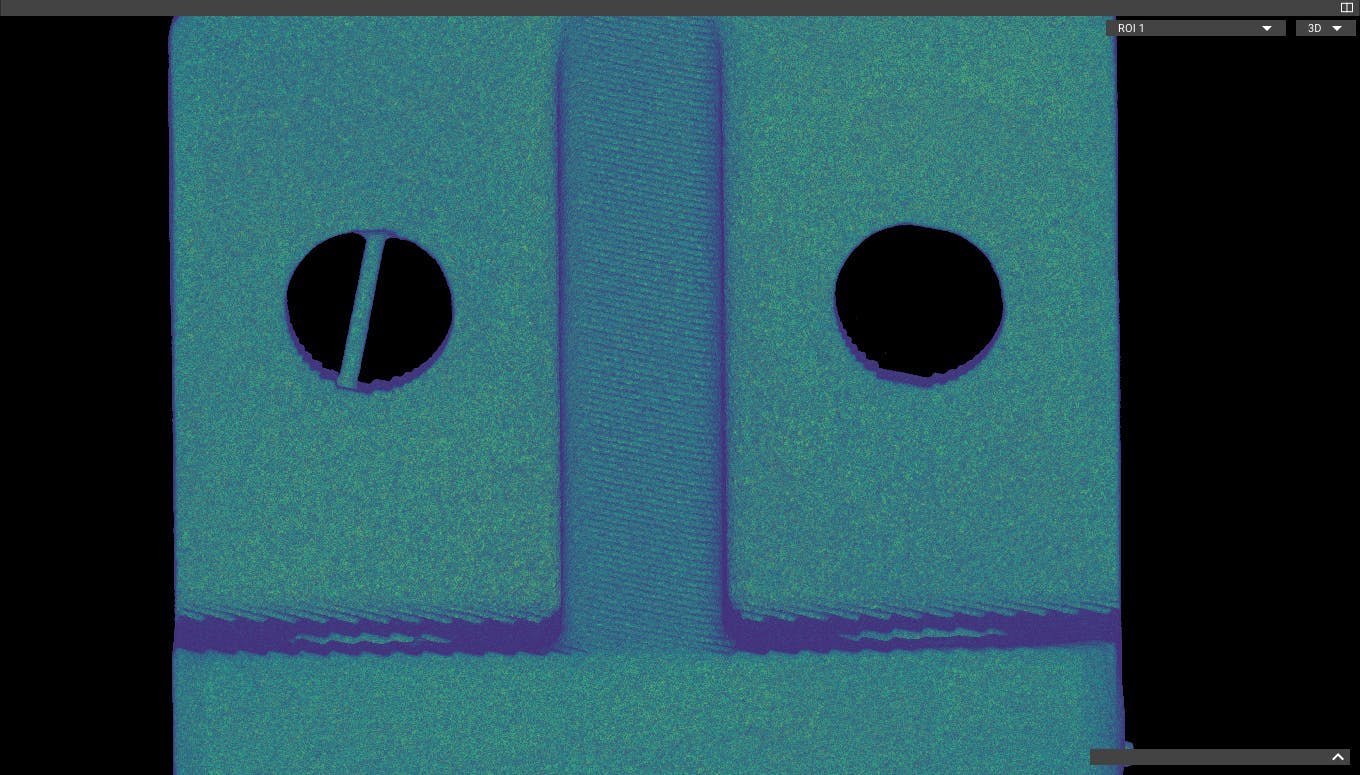
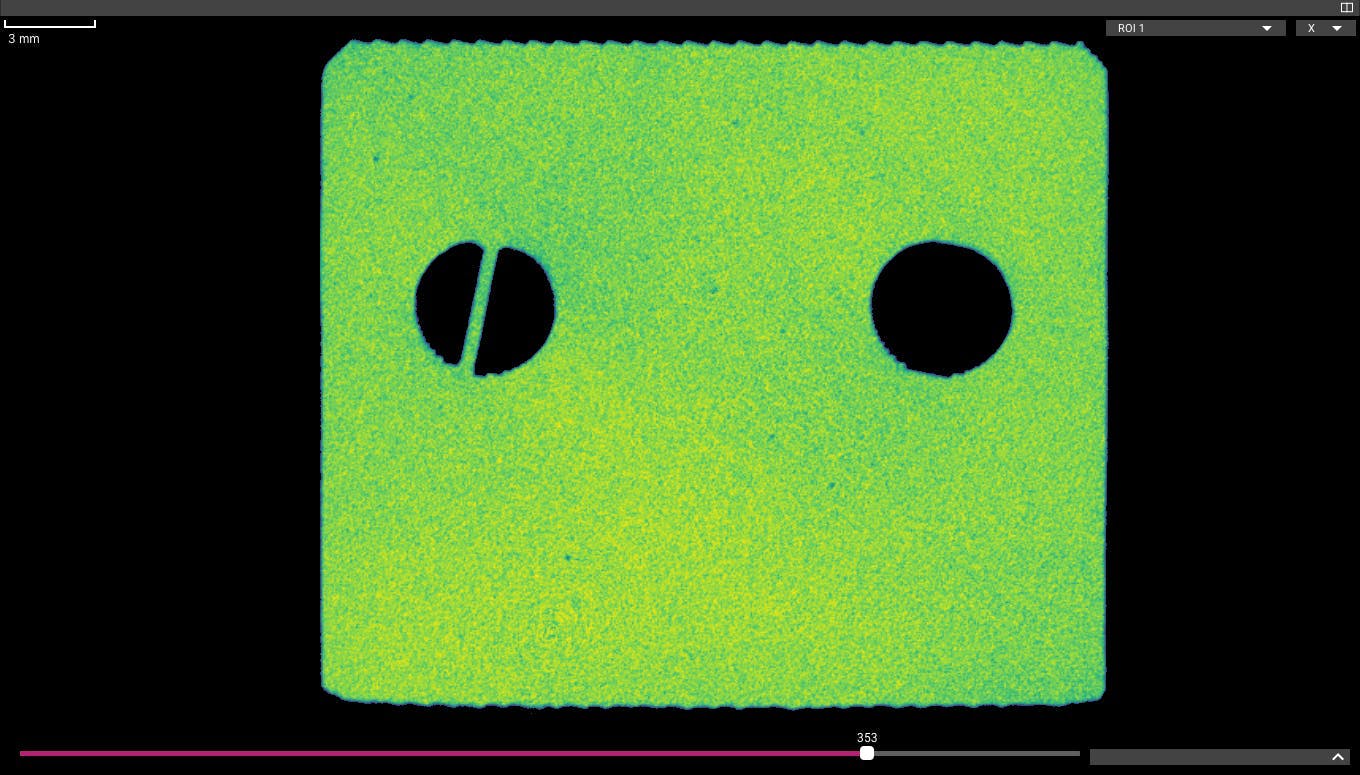
Many parts require support structures when they're fabricated on an SLA 3D printer. These supports stabilize the part and brace overhanging areas during printing, and they're removed and discarded during post-processing.
Small supports in internal features are easy to miss during post-processing, but they're easy to detect with a CT scan.
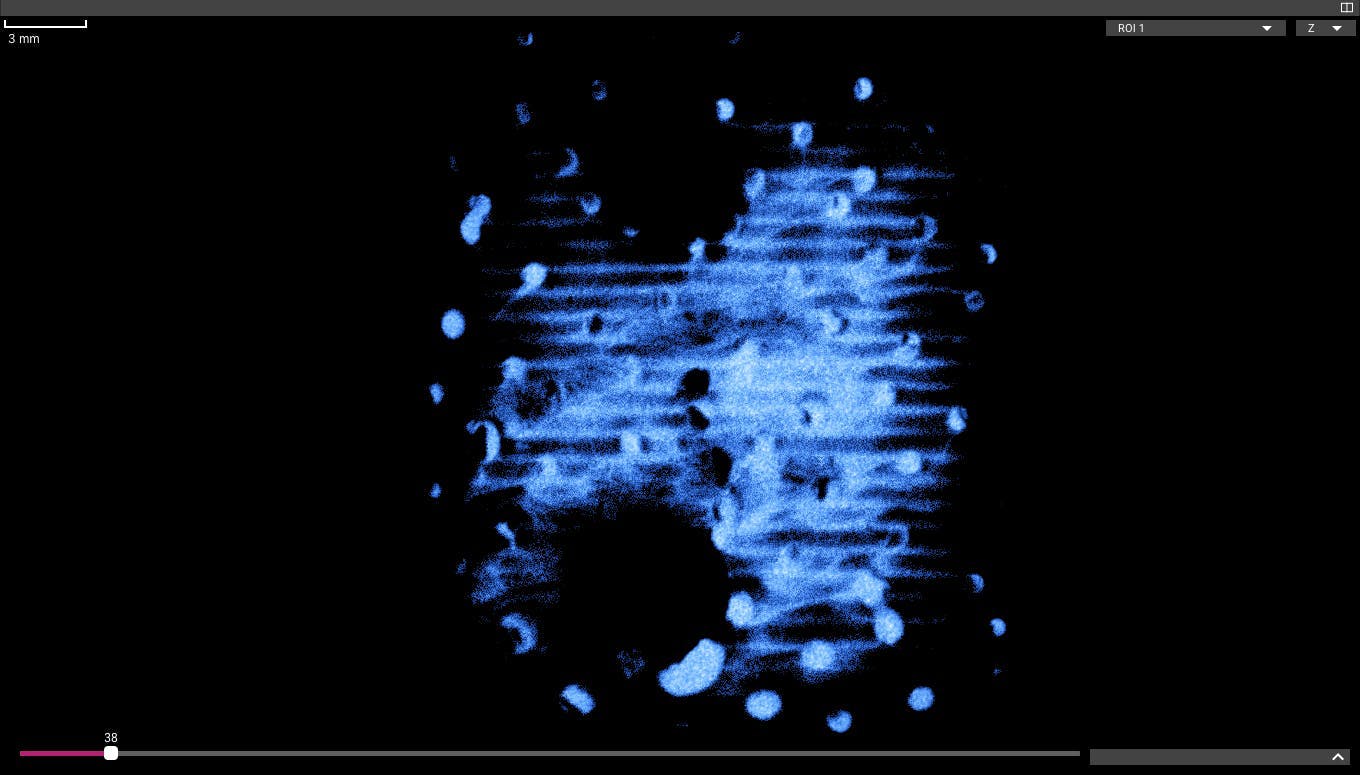
Support marks
Supports can leave visual marks on printed parts. Parts are usually oriented during printing to keep supports away from critical surfaces, but sometimes they're unavoidable. In this case support marks may need to be polished away during post-processing.
The process of removing supports can involve significant force, introducing small cracks in the part and breaking details.
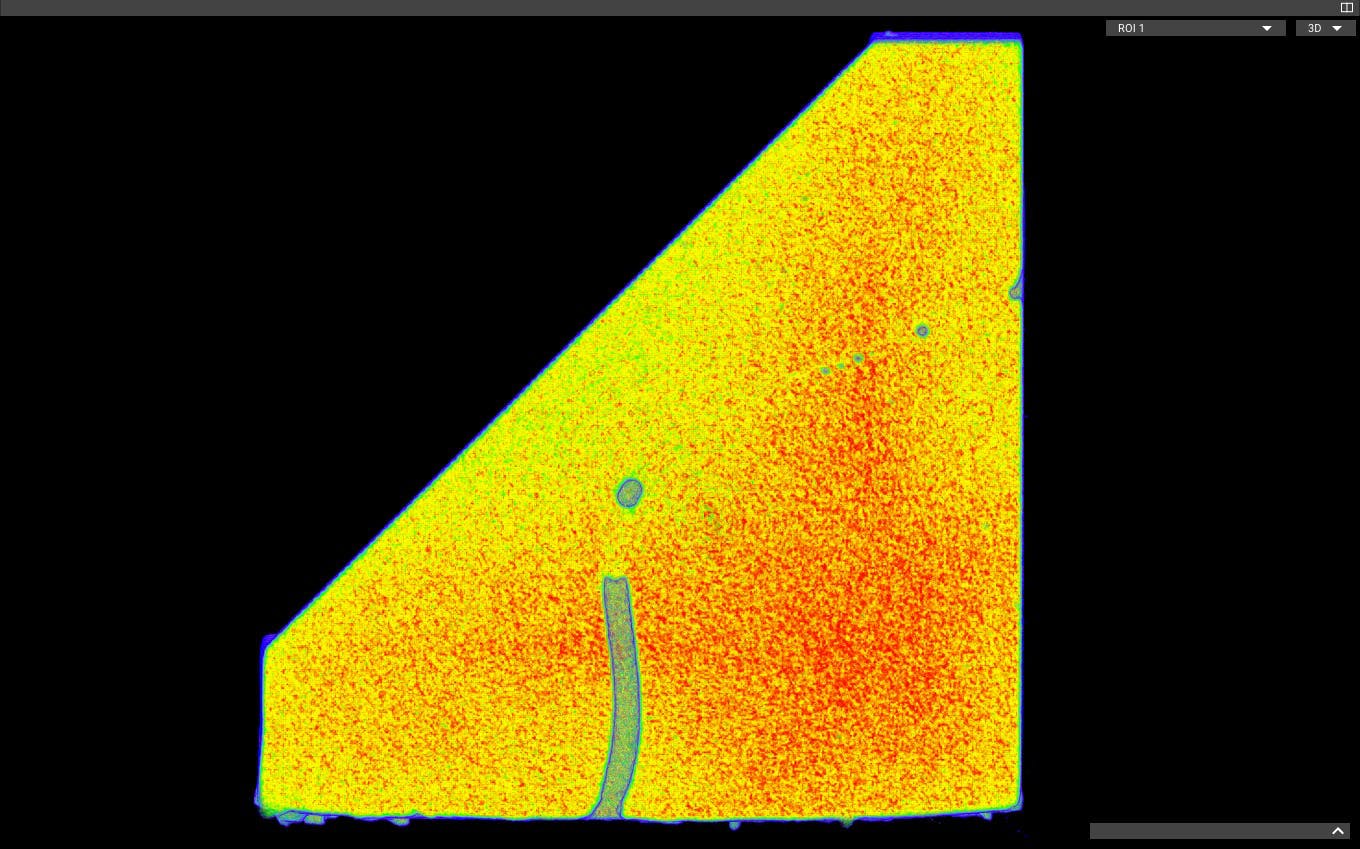
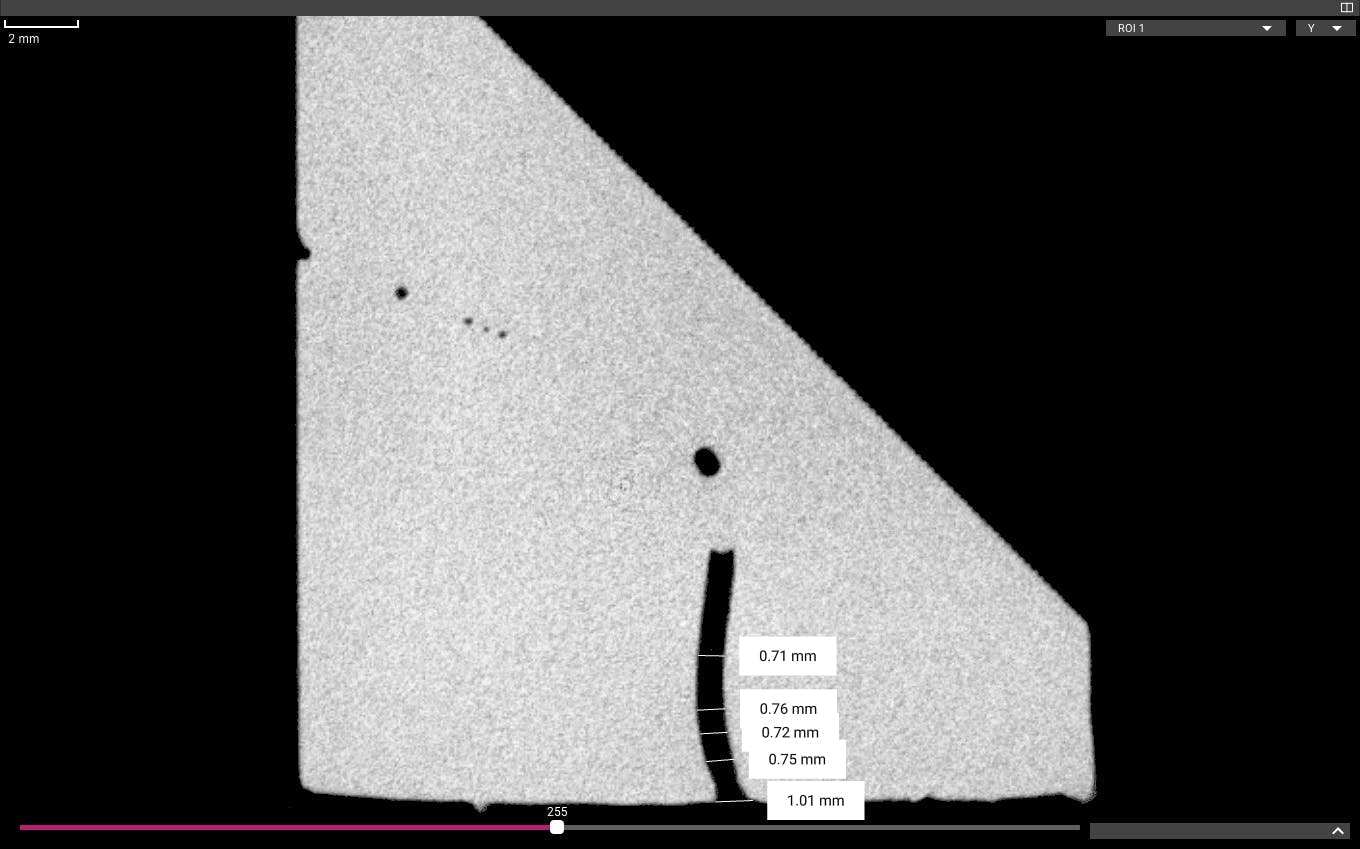
Trapped resin
After printing with an SLA printer, parts are rinsed in a solvent to remove uncured resin, then flooded with UV light to fully cure the part. Removing uncured resin from fine internal details can be a painstaking manual process, and any resin left on or in the part will be cured during the final post-curing step.
In this case, uncured resin was not completely flushed out of the internal channel during the rinse stage, leaving it to narrow the channel in some areas and block it completely in others. The blockage is outwardly invisible, but easy to find with a CT scan.
Other Articles in the Series
- Main page: Inspect 3D printed parts with industrial CT
- Fused Deposition Modeling (FDM)
- Selective Laser Sintering (SLS)
- Multi Jet Fusion (MJF)
- Direct Metal Laser Sintering (DMLS)


.png)